So now, this year's progress. Pictures will be in the next post, this will just be an oral telling of what we've done.
WATERFALL
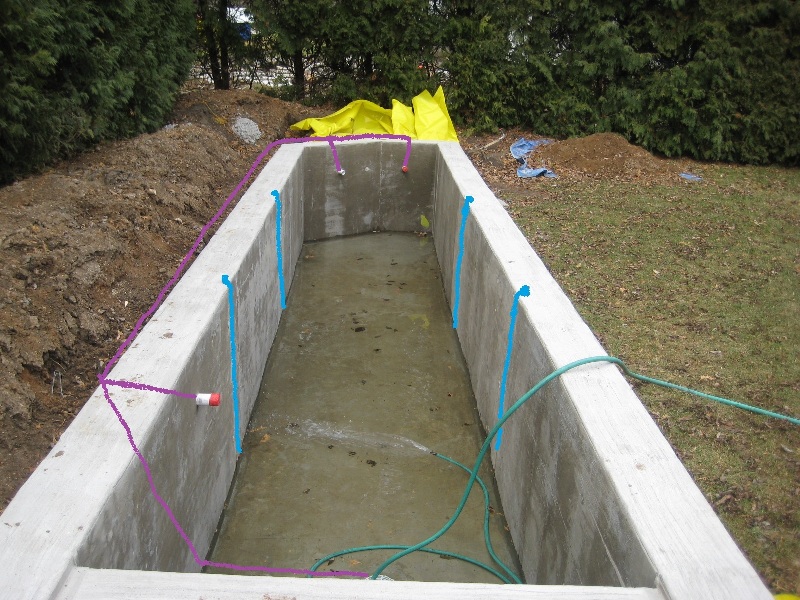
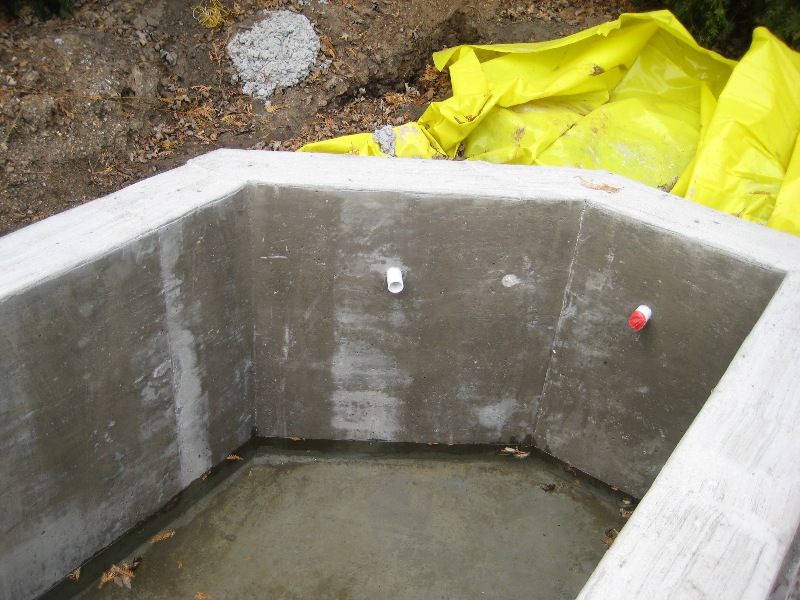
So, early this year we plumbed all of the intakes to the corner behind the 45. This is where the pumps and filtration will be, and it will all be hidden by a waterfall. We built a wall out of concrete block, surrounding a stainless steel sleeve in which our Aquascape brand waterfall box could fit (
http://www.1000fount...CFZFaMgodgQoAVA We found ours somewhere else, but I can't remember where, for a much better price, but this should give you an idea of what we did) One of my dad's stone specialists came in and mortared stone to the concrete block and grouted using a grout of the same color as our plaster. The waterfall will be run by a submersible pump from 5 at night until 5 in the morning as to prevent too much of a loss due to evaporation and to add to aeration while my plants aren't producing oxygen.
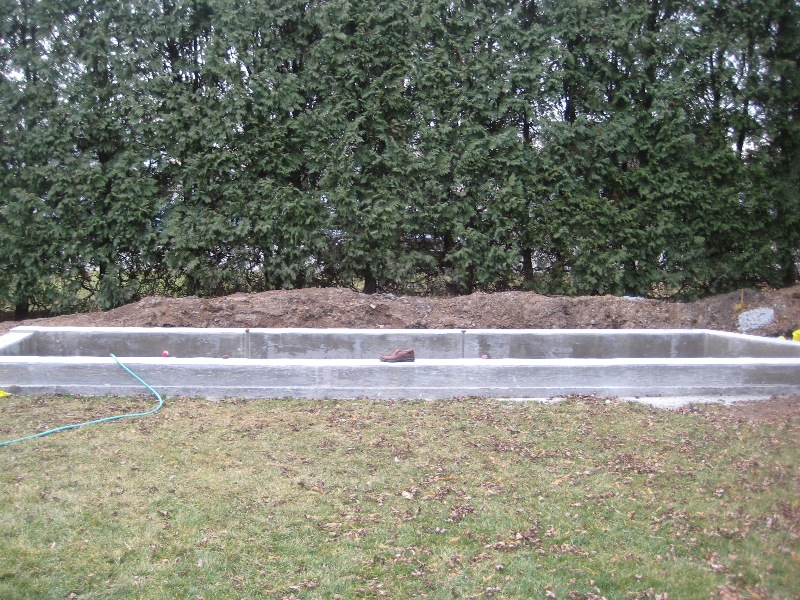
RETAINING WALL
We then built a retaining wall around the pond to allow for planting around it and an easy surface to mow against.
SEALING
We emptied the pond and coated it with plaster, sprayed on by trained professionals from my dad's company. This will waterproof the pond and it also matched the white on our house. If anyone wants more information on this step, let me know and I will ask my dad.
AQUASCAPING
Then I began doing what I do best; aquascaping and habitat design. It's hard to do on such a large scale while still being practical, but I did what I could. I knew I wanted waterlillies in the pond, but they like shallower water than 4 feet, so I knew I would have to build shelves. Using the same kind of stone we planned to cover our waterfall in, I built two 12" square (including height) walls of rock in the corners opposite of the pump output. On the wall opposite my house (The same wall as the skimmer) I built a shelf running the length between the two divider slits. This was about 18" tall, and had 3 6" pvc pipes going from the face of the shelf to the backwall, where there were attached so they would remain open to be used as caves by the fish. These were installed at 45 degree angles to promote more flow through them. I filled them halfway with landscaping filler rock, then placed a layer of landscaping fabric and had it run of the sides of the shelves, which I filled with black dirt and a layer of sand. Most of the pond bottom is covered with a thin layer of dirt and a few inches of sand, but in the high flow area there is also gravel and large rocks to create habitat for darters and shiners.
PUMP PROTECTION
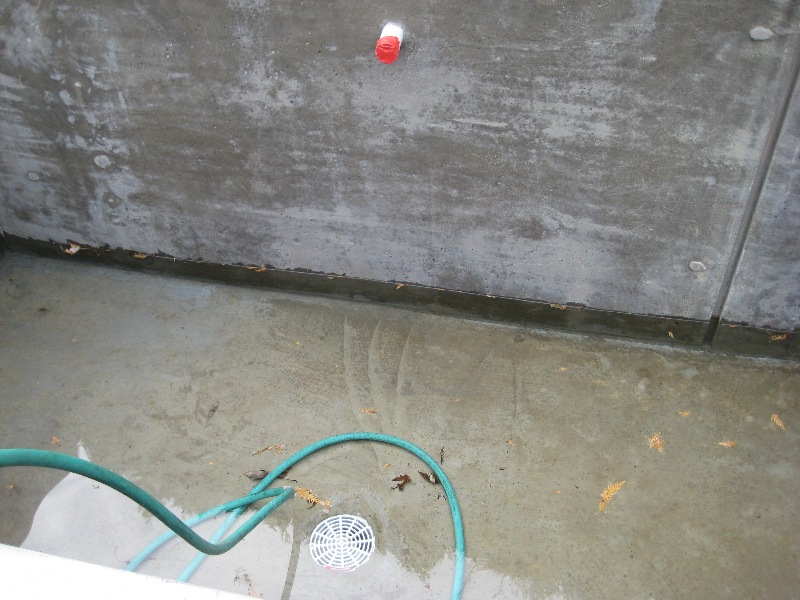
I took a hose barb, shaved it down, and stuffed it into the smaller hole in the drain and connected a 7" piece of 1.5" pvc to it. There were about 8 very small diameter holes drilled right at the bottom, and there was a lint trap (
http://www.menards.c...3938-c-9417.htm) with a cap on the open end placed in the end of the pipe to prevent sucking in small fish. Before I placed any of the bottom substrate in, I used the same stone I used for the shelves and built a wall around the intake, put in some landscaping fabric, and filled it with landcaping filler rock. I did a similar thing around the submersible pump that feeds the waterfall. The small holes in the bottom of the stand pipe allow the pump to pull out any gunk that accumulates in the landscaping rock.
OUTPUT
I installed a spraybar to spread out the constant circulation pump's output.
SKIMMER
For our skimmer we used an Aladdin No Niche Skimmer(
http://www.123ponds....CFchDMgodJHQA2Q Just so you know, there may be better prices other places, this was just so you can get the idea of what it looks like) and it seems to be working fantastically. It levels to whatever the level of the pond is and pulls in about a 1/16" layer of water off of the surface. It's great!
FILTRATION
I will discuss that in the next few days as we finish it up.